Page 16 of 25
Re: Manny & Darlene's Eagle 05
Posted: Sun Feb 10, 2013 2:36 pm
by buscrazyinFL
John, your bus is shaping up real nice. I know Eric is going to do a really good job. I've never seen anybody take the time to do a mock up with cardboard like he does. When he's done your Eagle will be the Cat's Meow!
Yeah I started to change the rims because one of them started leaking so I figured, considering they were maybe 40 years old it was time for an upgrade. Plus, those steel rims are heavy. My Eagle weighs 600 lbs less now.
Re: Manny & Darlene's Eagle 05
Posted: Sun Mar 10, 2013 9:04 pm
by buscrazyinFL
POST # 50
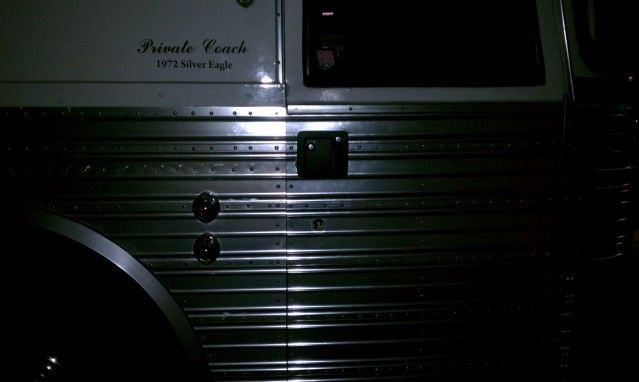
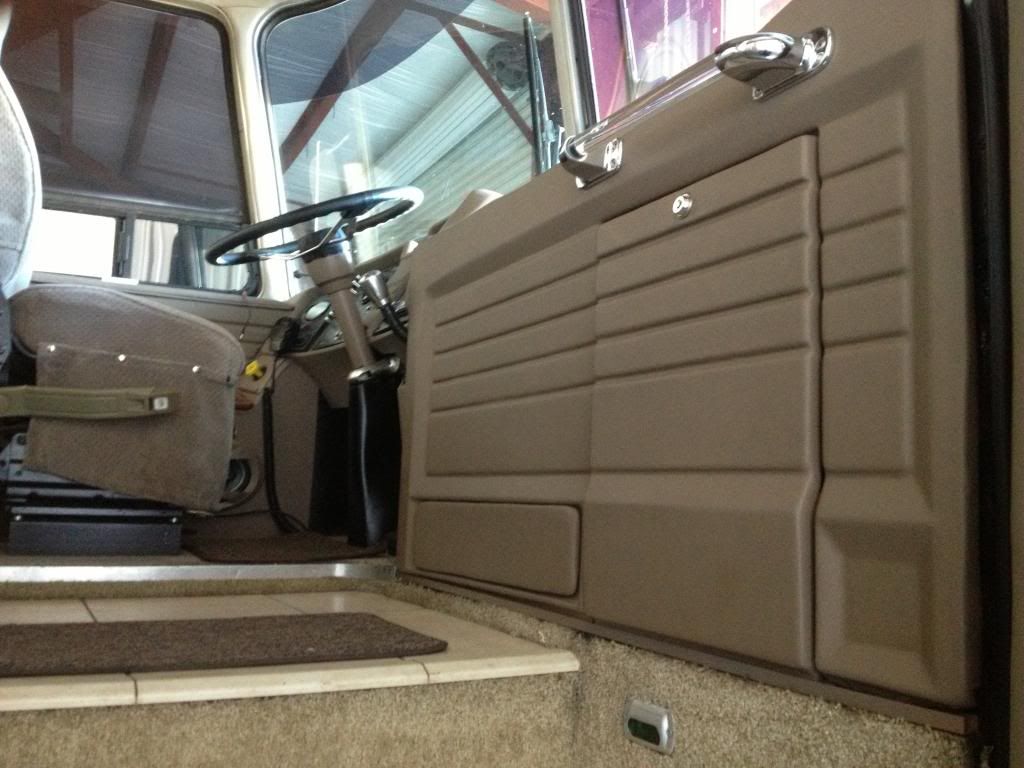
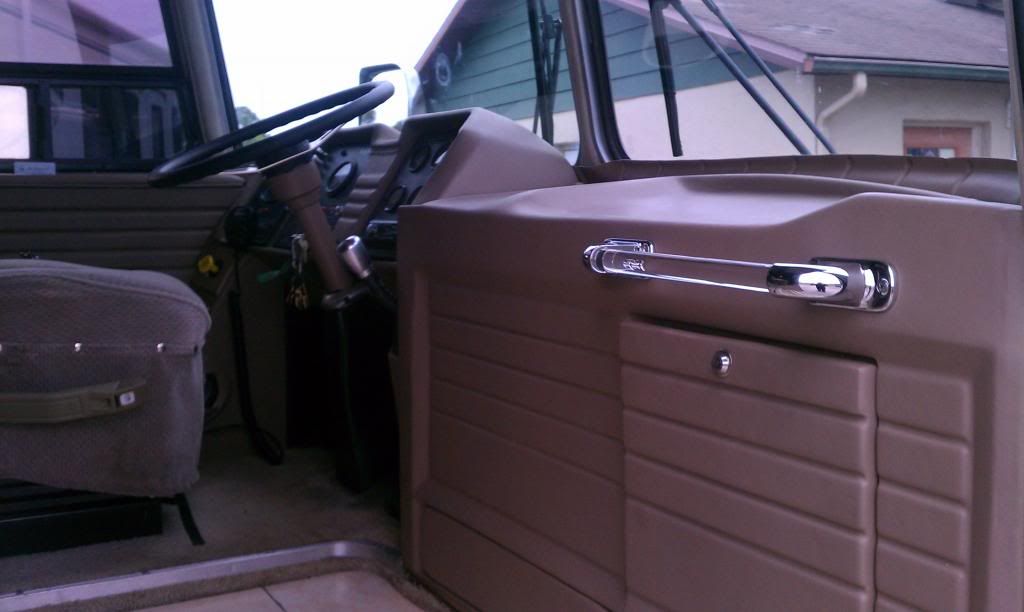
Door Lock Replacement
I've never been happy with the lock that came with my Eagle when we got it. Even though our bus was professionally converted, there are some things I wonder about and this door lock was one of them.
I had installed a deadbolt a while back but I've been wanting to fix the handle and do it right. Now was the time because the lock finally fell apart. So I took inventory at the Arcadia Rally to see what others had done, and took pictures and then decided I would order a TriMark lock which I found on the internet through Camping Connection
http://www.campingconnectionrv.com/" onclick="window.open(this.href);return false; They have a location right here near me and I'm told they have a larger facility in Myrtle Beach, SC..
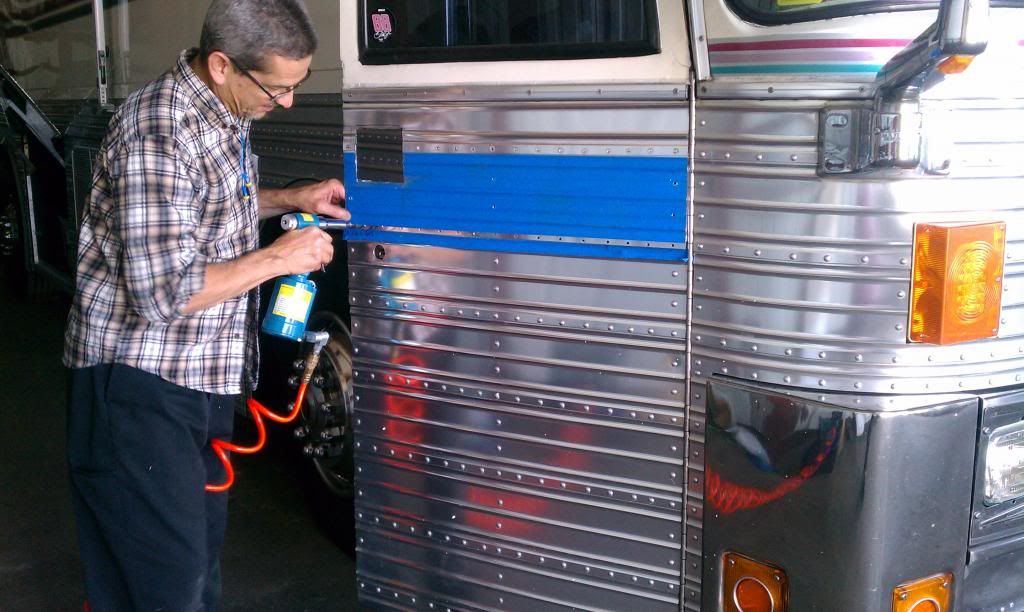
It took some time and some calculations. I wanted to get it right. I made a template as you will see in the pictures, and then cut the metal, that took some time and then installed the lock. It took about six hours all together considering the tweaking and adjusting...but man does it work GREAT! The door is really tight and secure (like it's never been before).

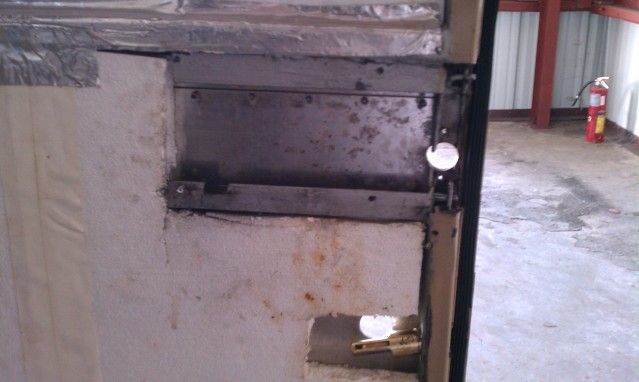
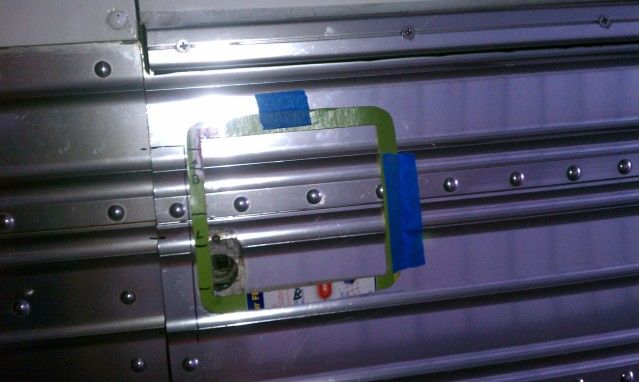
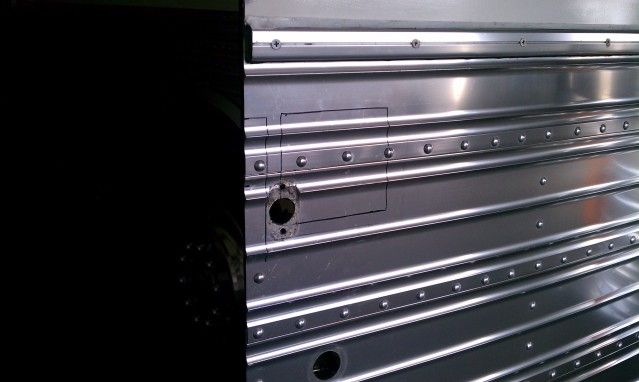
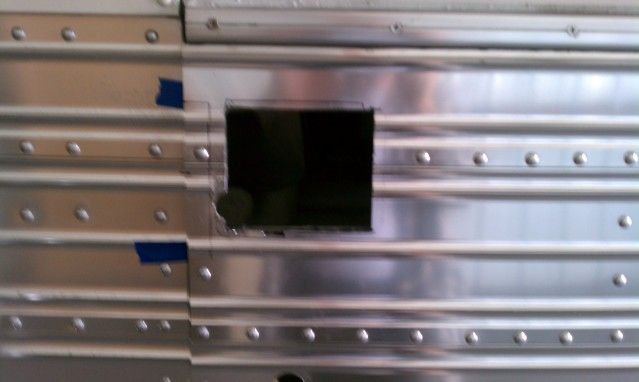
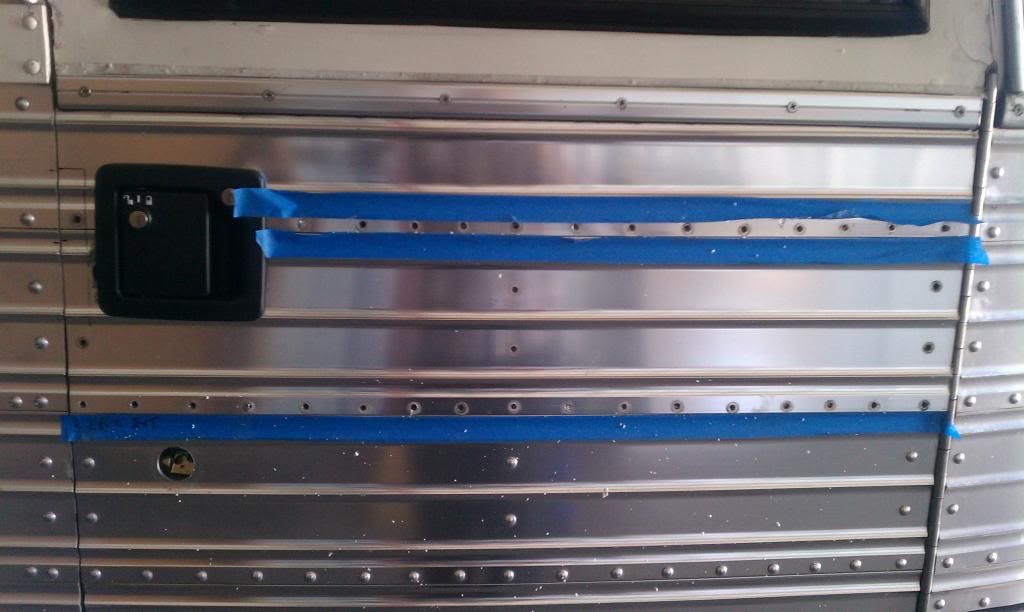
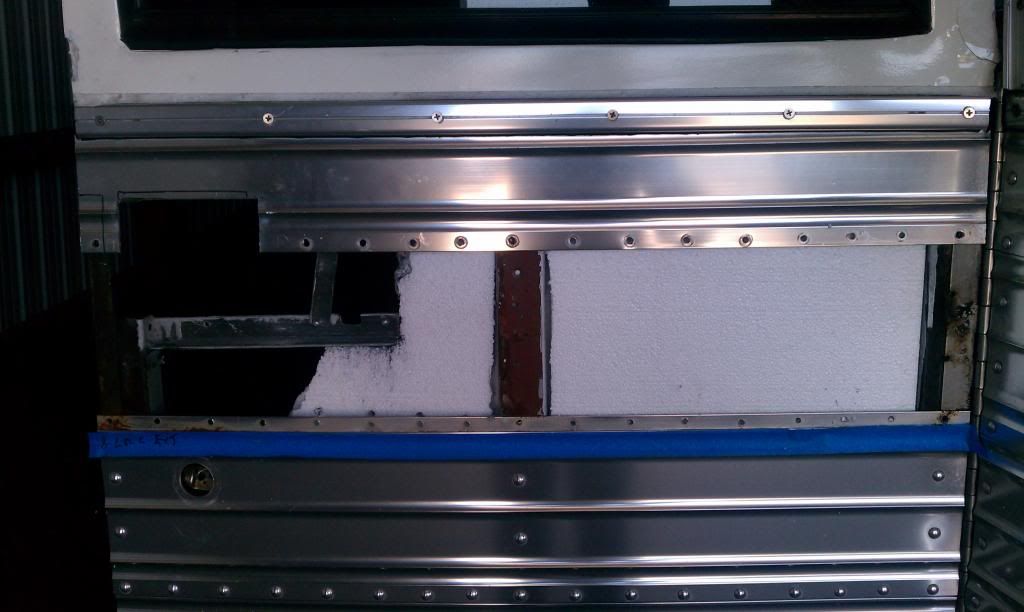
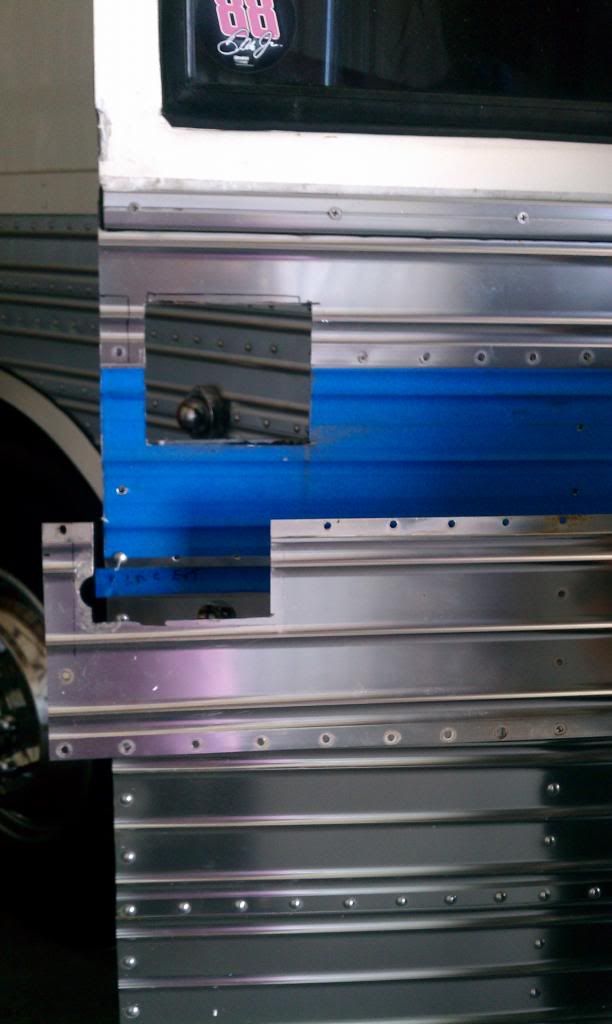
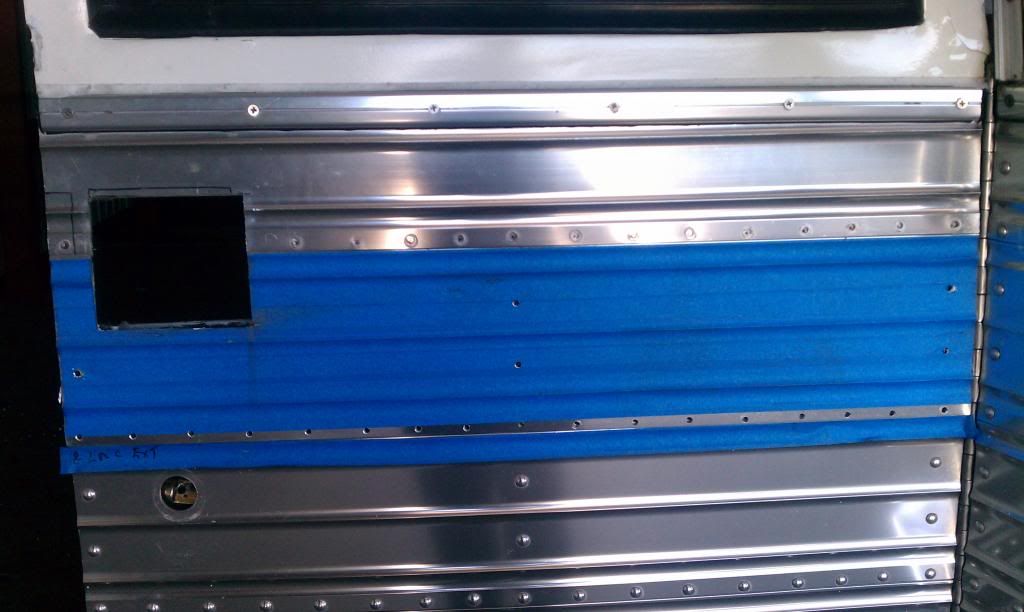
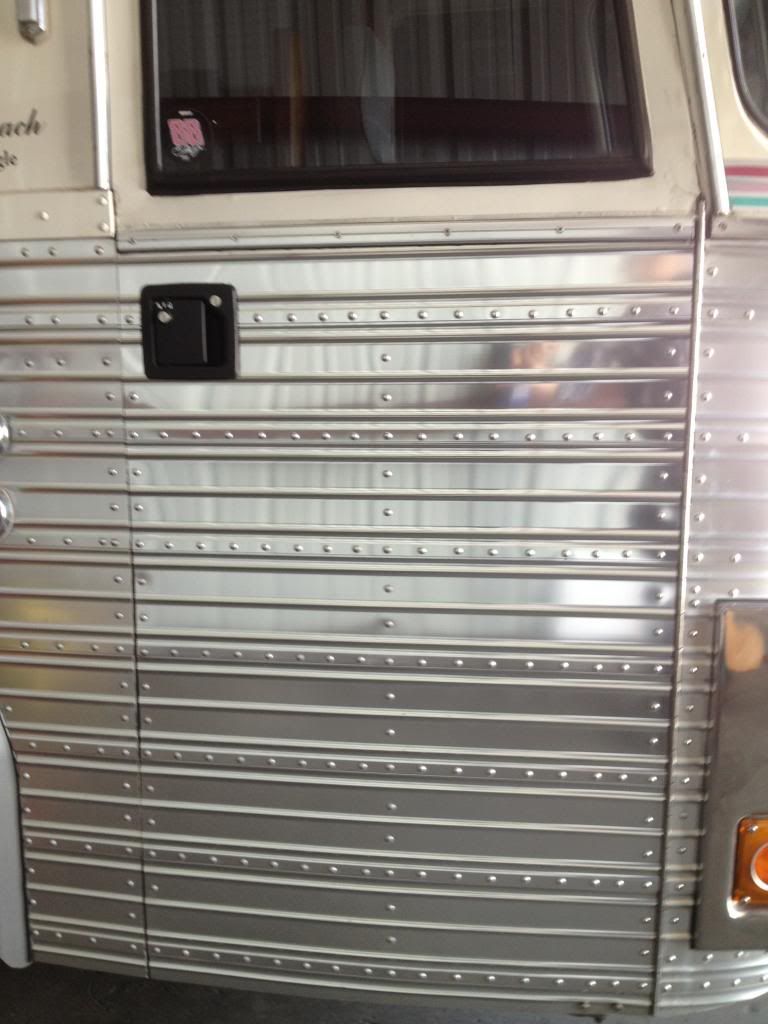
Now I needed to replace the aluminum panel where the old lock had been because it left a hole.
Here I was preping to get the old panel off and I have removed the old rivets
Here you can see the old section has been taken off
In this picture I am holding up the old panel (below the new one) so you can see the difference
Here is the new panel ready for the new pop rivets
Before and After Pictures of the new Door Handle/Lock
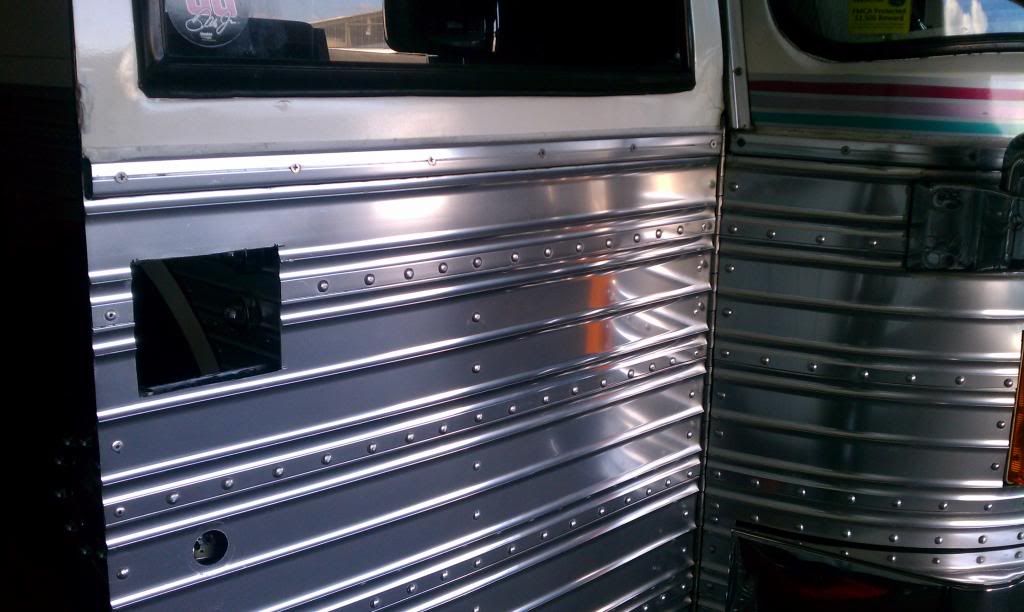
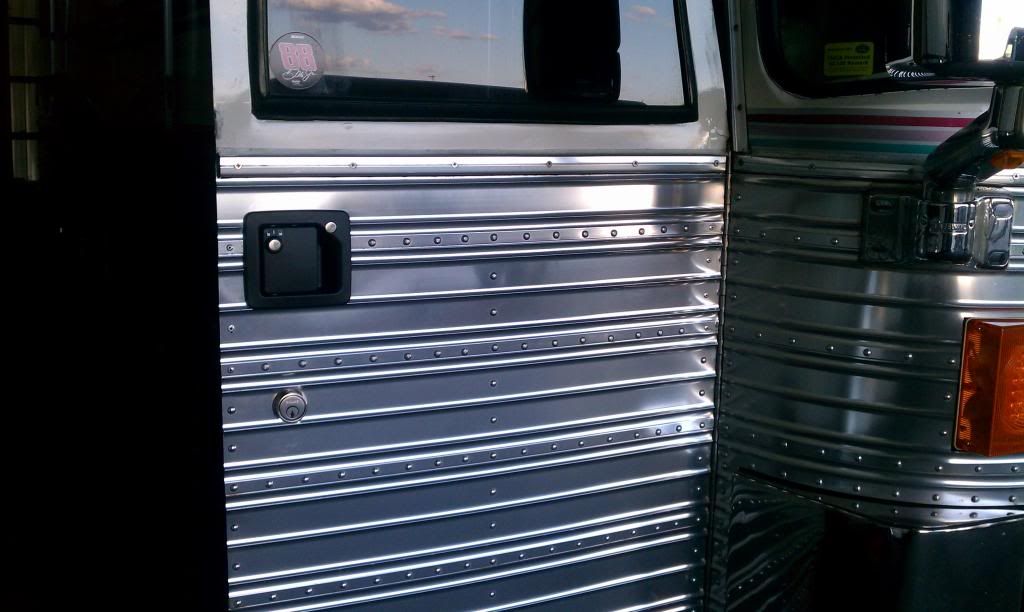
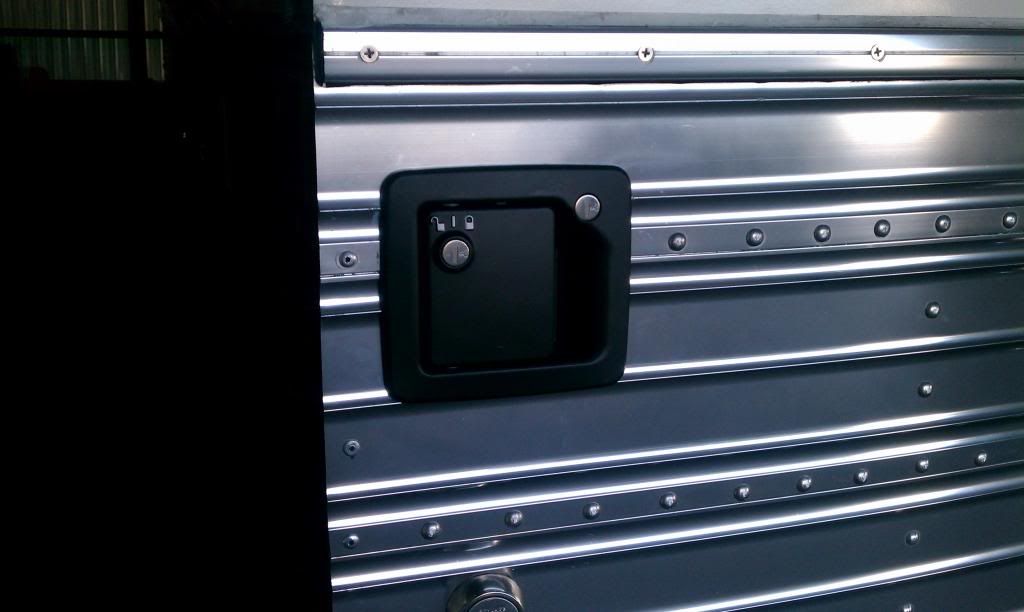
Finished Product
After the new lock was installed and I saw how well it worked I decided not to keep the deadbolt because I found it wasn't really necessary anymore. And yes, it did mean I had to replace another panel, but not a big deal.
Re: Manny & Darlene's Eagle 05
Posted: Mon Mar 11, 2013 5:55 am
by Jim H
Manny, It looks great !!
Re: Manny & Darlene's Eagle 05
Posted: Mon Mar 11, 2013 4:53 pm
by buscrazyinFL
Thanks Jim, I don't work as hard in my profession as I did on this door project. I must have at least 40 hours. I installed 30 deadbolts in a school this past week from scratch - meaning...drilling the door, keying the locks the same and then installing them and did that in 9 hours. But I'm really happy with the way this project turned out.
Sure looking forward to seeing you in Blytheville.
Re: Manny & Darlene's Eagle 05
Posted: Mon Mar 11, 2013 5:57 pm
by Gary LaBombard
Great installation job Manny, as always.
How did you remove the pop rivets without damaging your upper panel? Did you drill them out, finding center is a bummer if you did.
Gary
Re: Manny & Darlene's Eagle 05
Posted: Mon Mar 11, 2013 6:08 pm
by buscrazyinFL
Post # 51
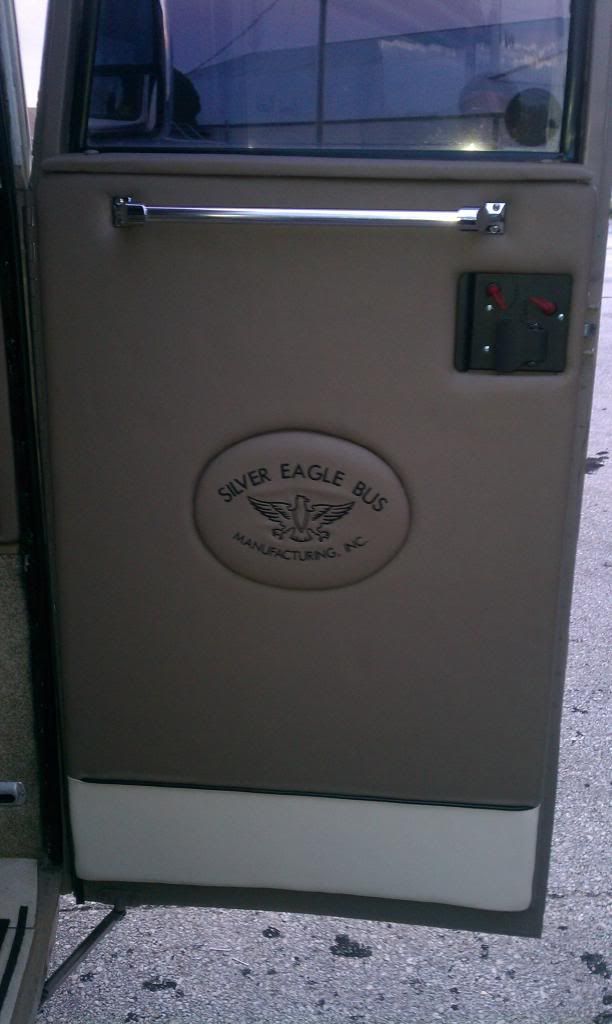
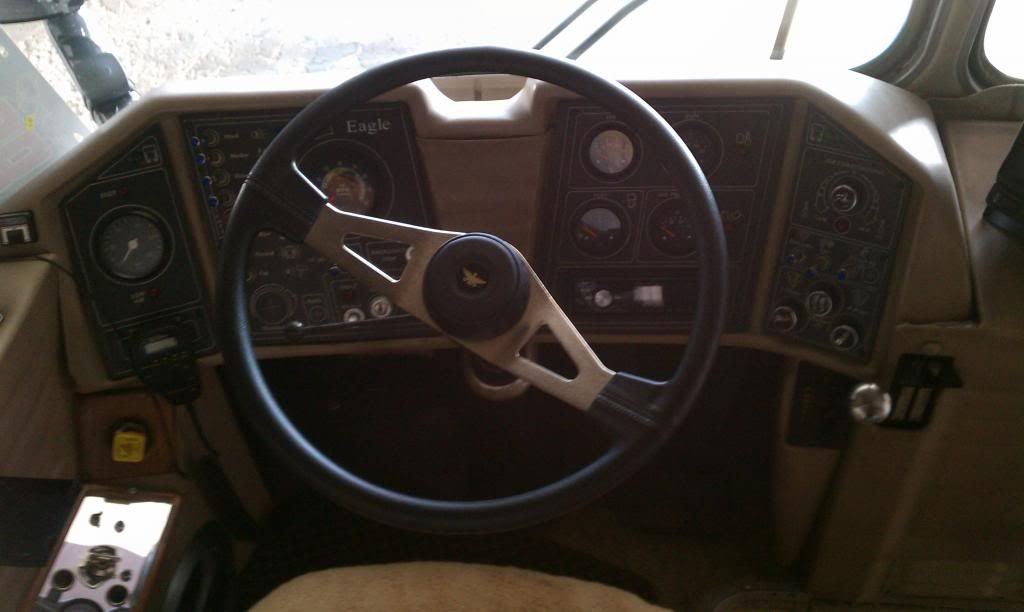
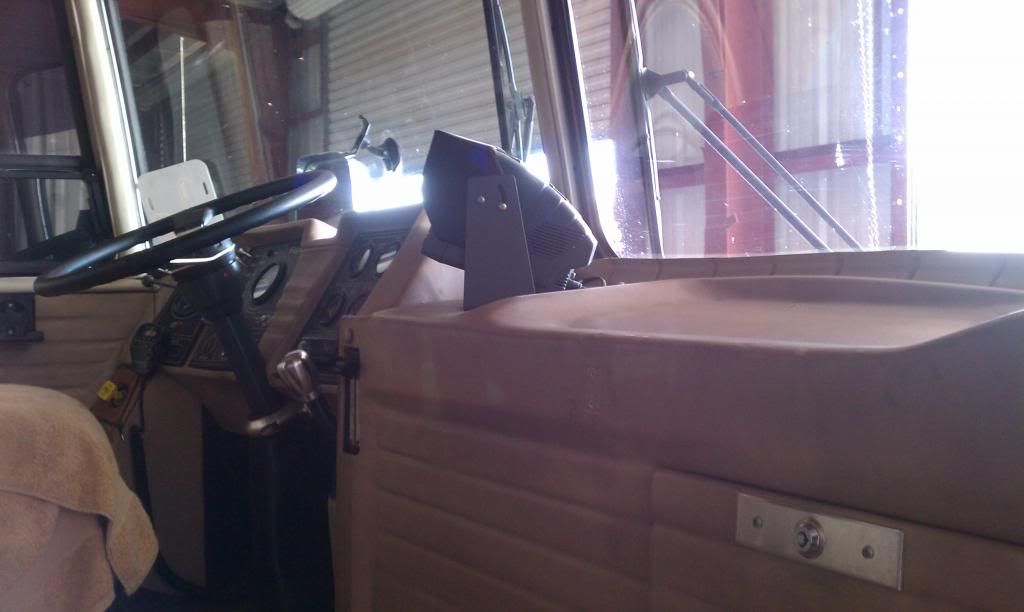
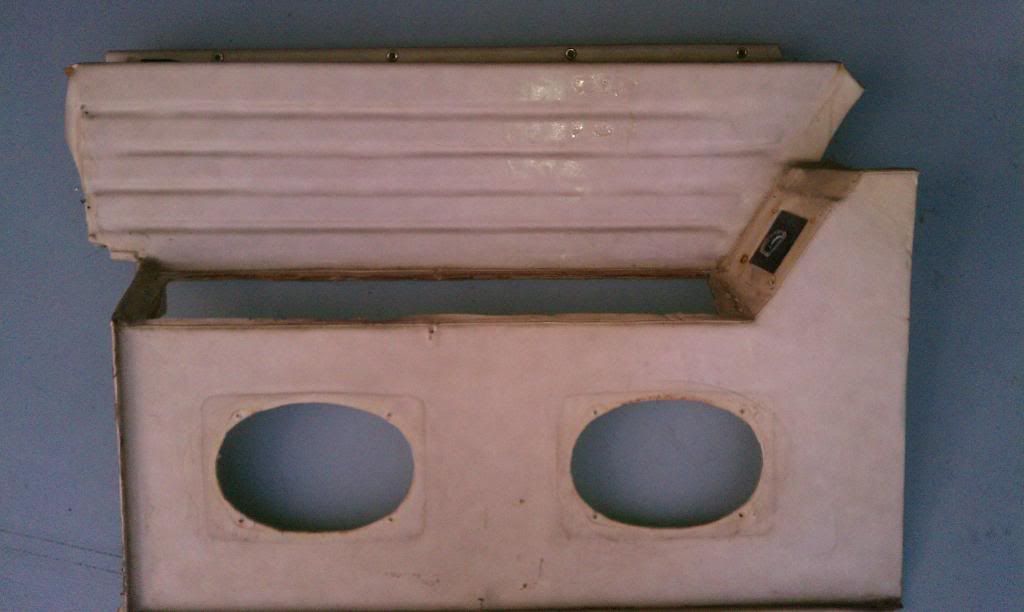
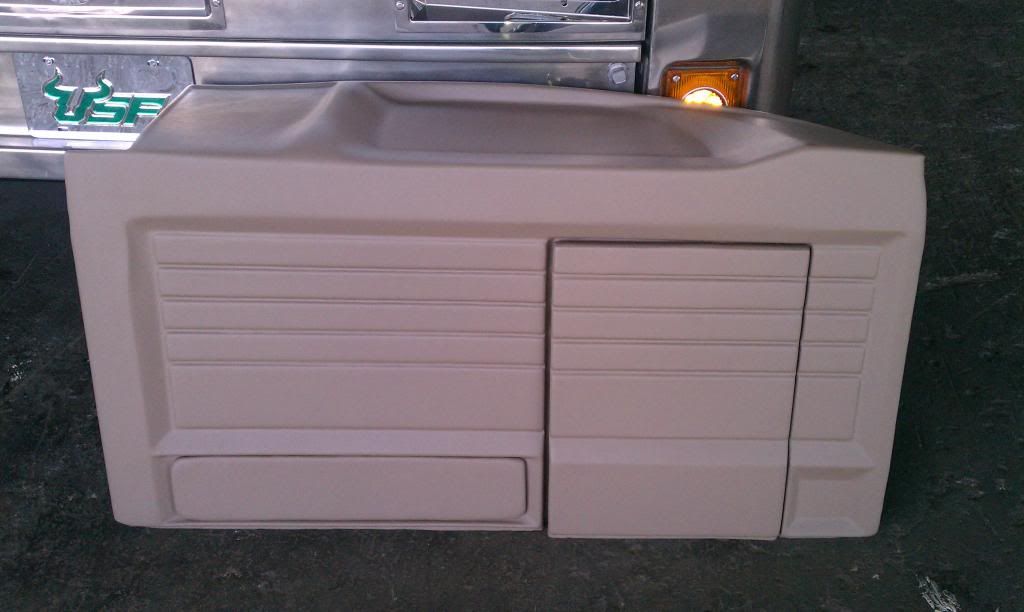
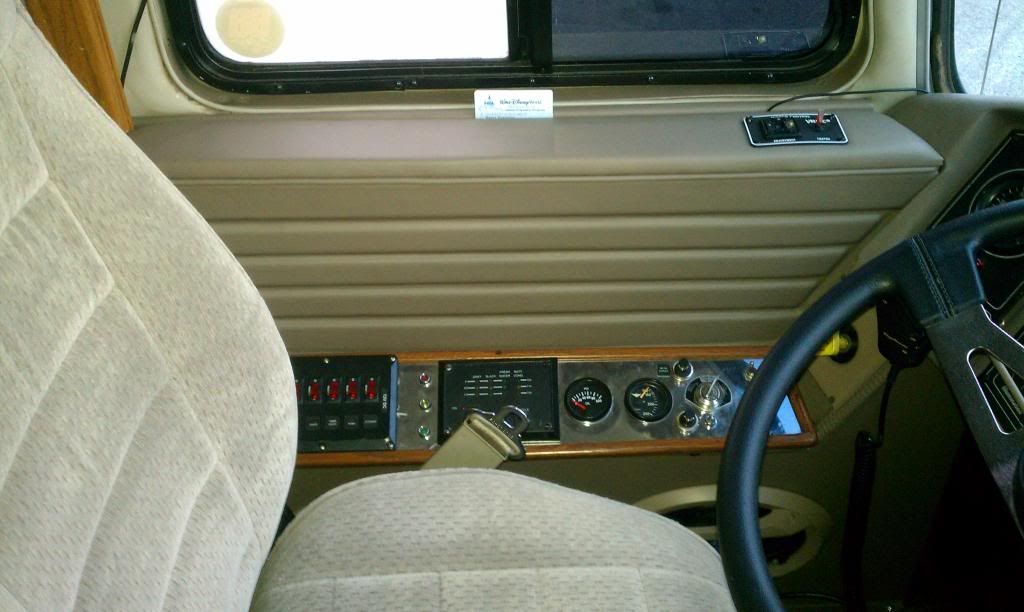
NEW DOOR PANEL AND DASH
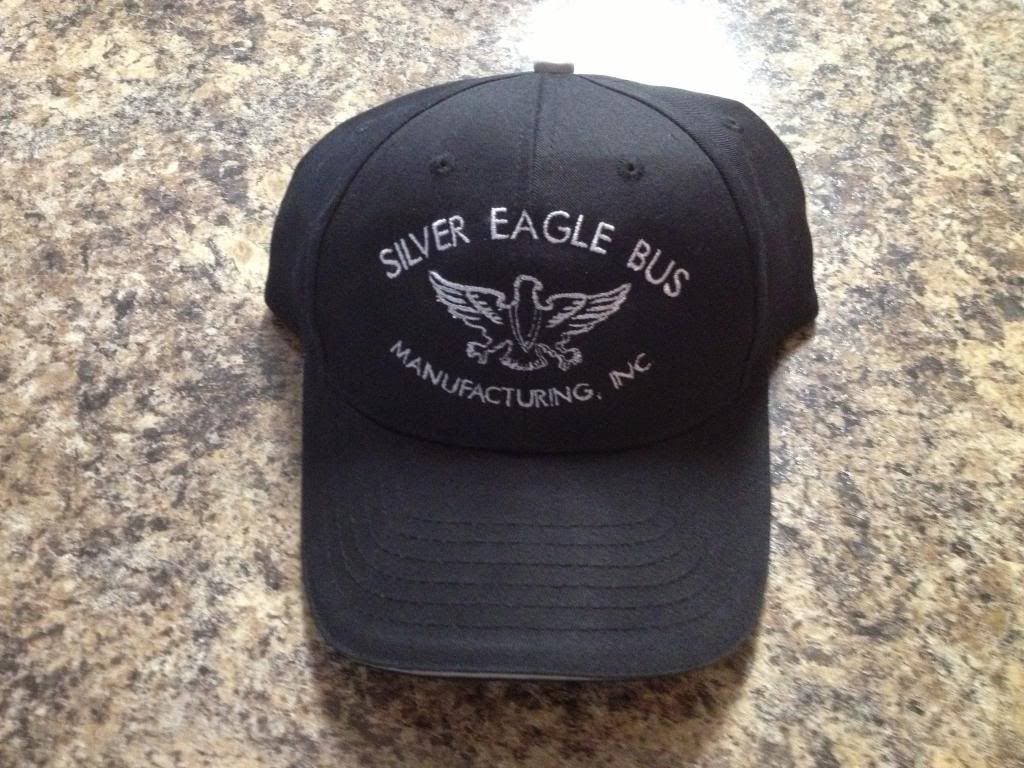
Well, you guessed it! As we all know - one thing leads to another and once I got that door torn apart I didn't want to put the old panel back on there. It wouldn't have fit right anyway. So my wife and I tried to come up with a design we would like and after some prototypes we came up what you see below. While searching online we stumbled upon this logo and really liked it and wanted to get it in the design of the door panel somehow. I have an upholstery shop here in town that has done some work for me before so I stopped in to talk to the owner and it just so happens he needed some lock work done...so we traded. I did have to pay (an embroidery shop) to have the logo embroidered onto the fabric and while he was at it I had him make me a hat

So, first we did the door panel
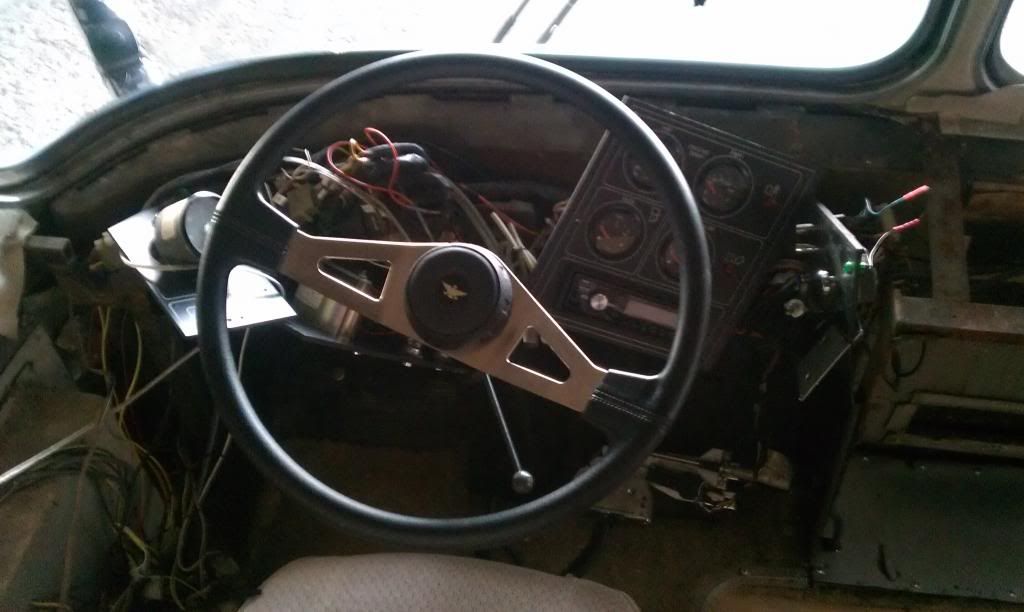
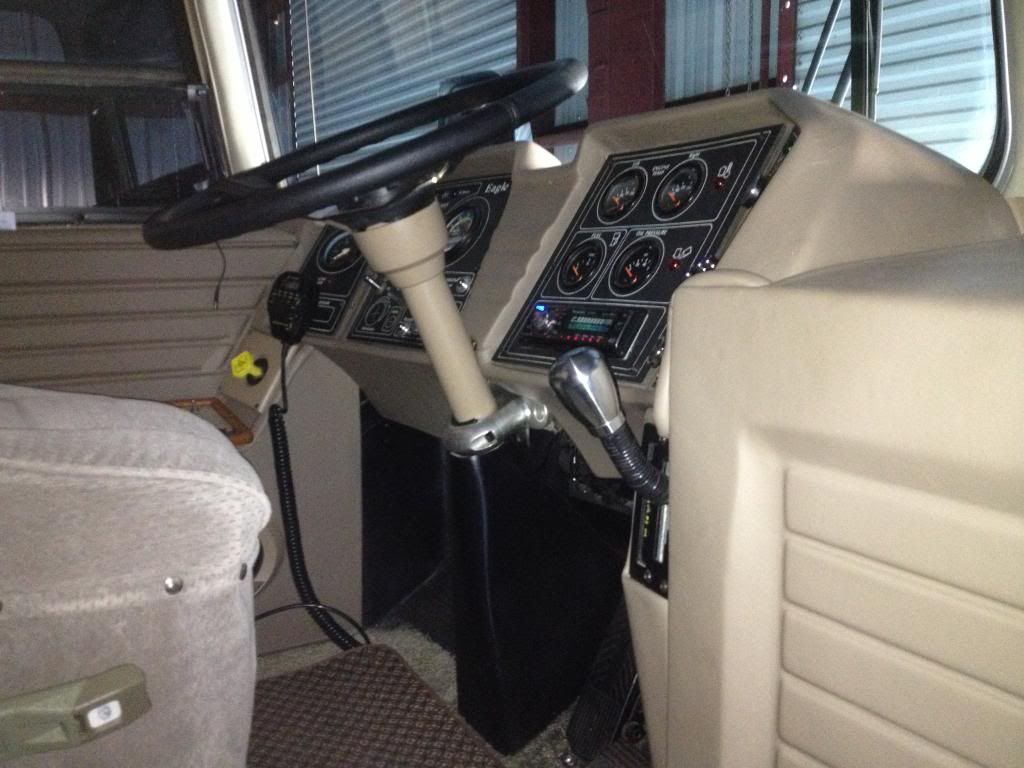
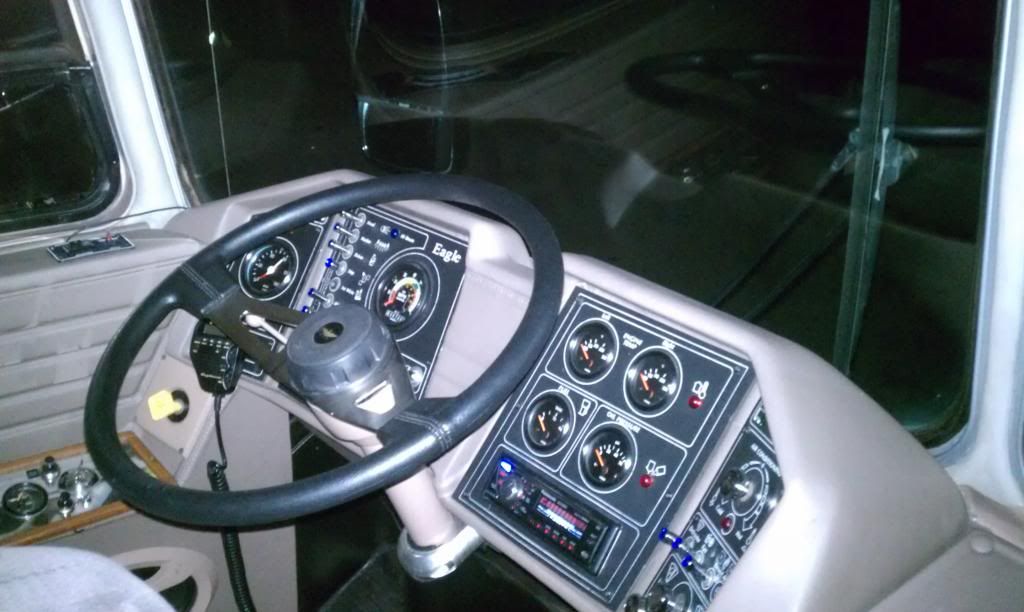
Well, once I got the new door panel in, I realized how bad the dash looked, and I have been wanting to redo that for a while. So I started taking the dash apart, all three panels. Then I removed the old vinyl and that was pretty easy, but the glue was a different story. It had been on there since 1988...that's 25 years. Each panel took about 3 hours to clean up. I used lacquer thinner. The shop would have charged me $65/hr to do this work and he didn't mind me doing it because it saved him time and he had a lot of work in progress anyway.
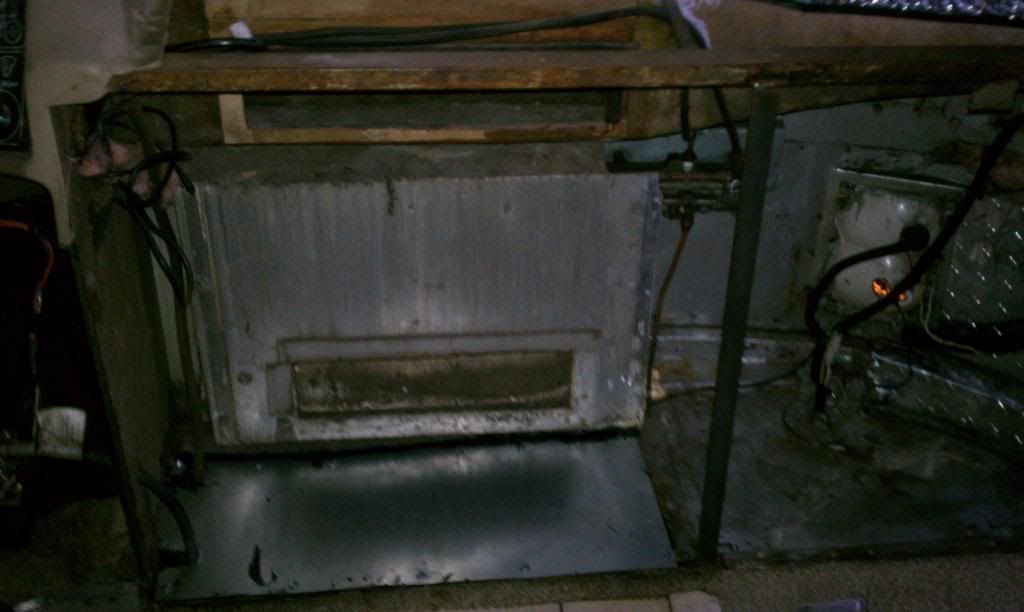
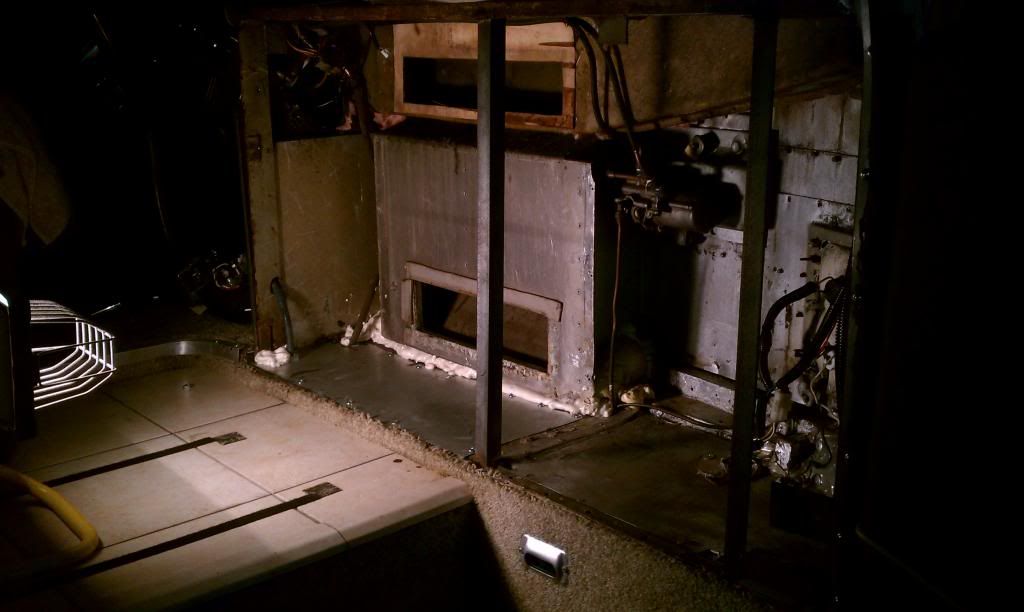
Once the dash was out, I went ahead and took the old bus heater out because it was not functional and then I took Eric Brown's suggestion while I had the dash apart (or as he would say, "while I was at it") and insulated the dash compartment all around, against the aluminum, covering any cracks or holes, and that included the door behind the door panel. Also, before I put all the dash panels back together I painted the steering column to match the dash and I gave the boot a fresh coat of black paint. The product I used to paint anything that plastic, vinyl, or rubber I used SEM paints. I have used this product for years and it will not peel off
http://www.semproducts.com/" onclick="window.open(this.href);return false; You can find it at paint/body supply stores.
This whole Door Panel and Dash Project took more than 100 hours to complete.
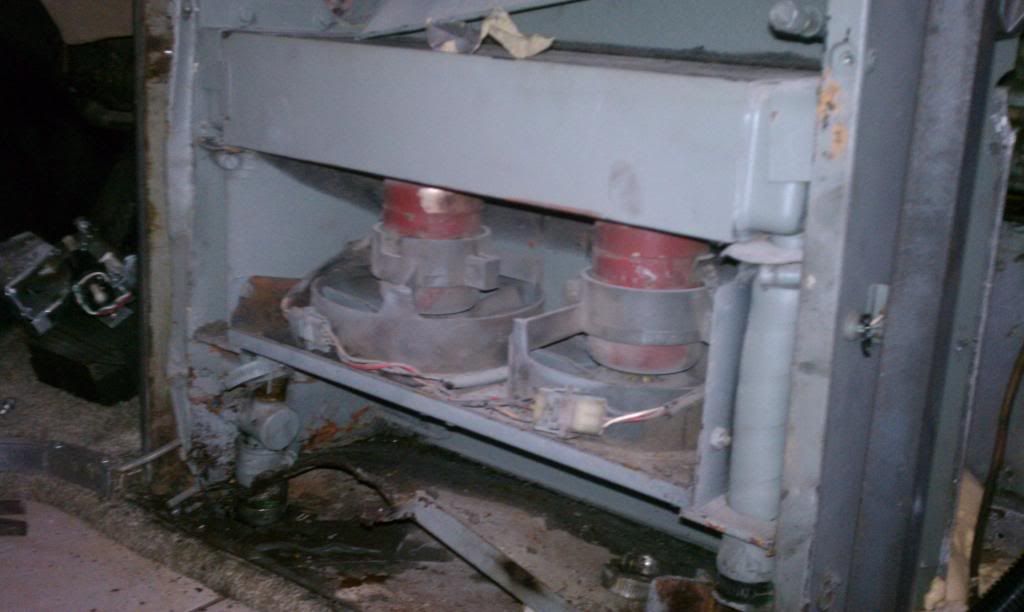
Old Bus Heater

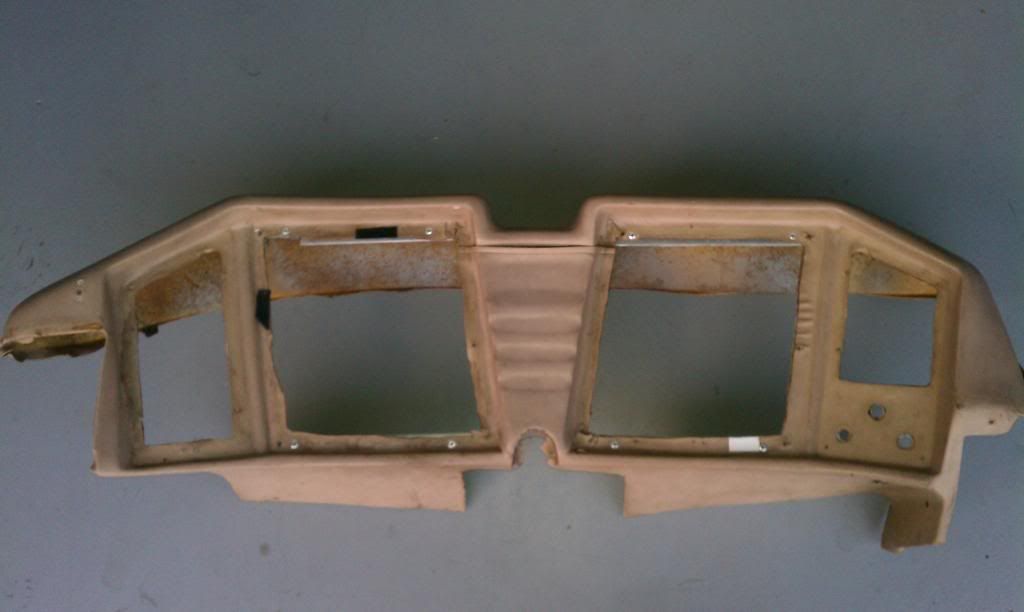
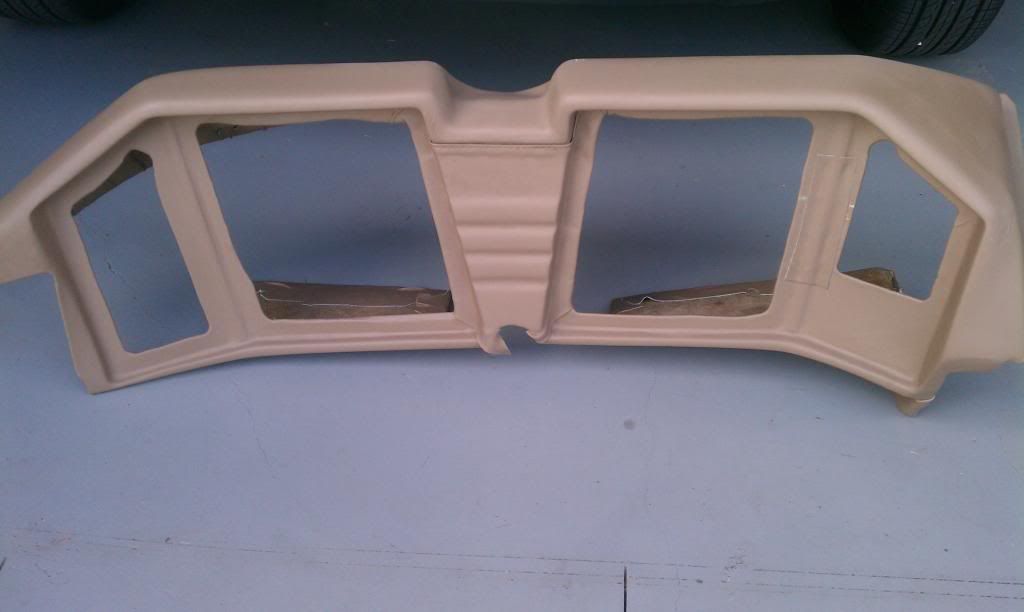

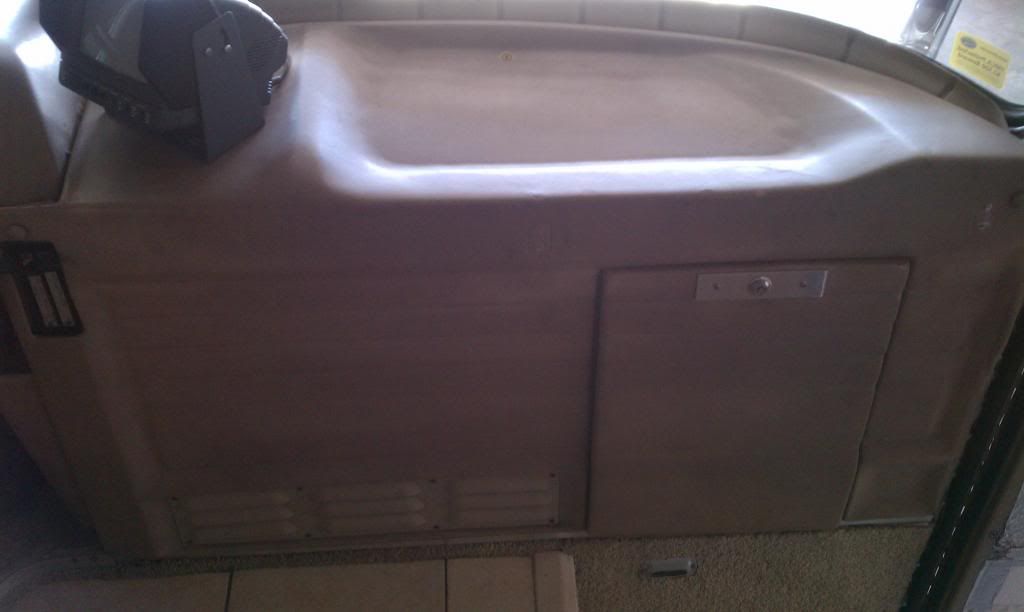
The Big Panel before and after
Notice on the new panel the holes from the heater controls have been covered up
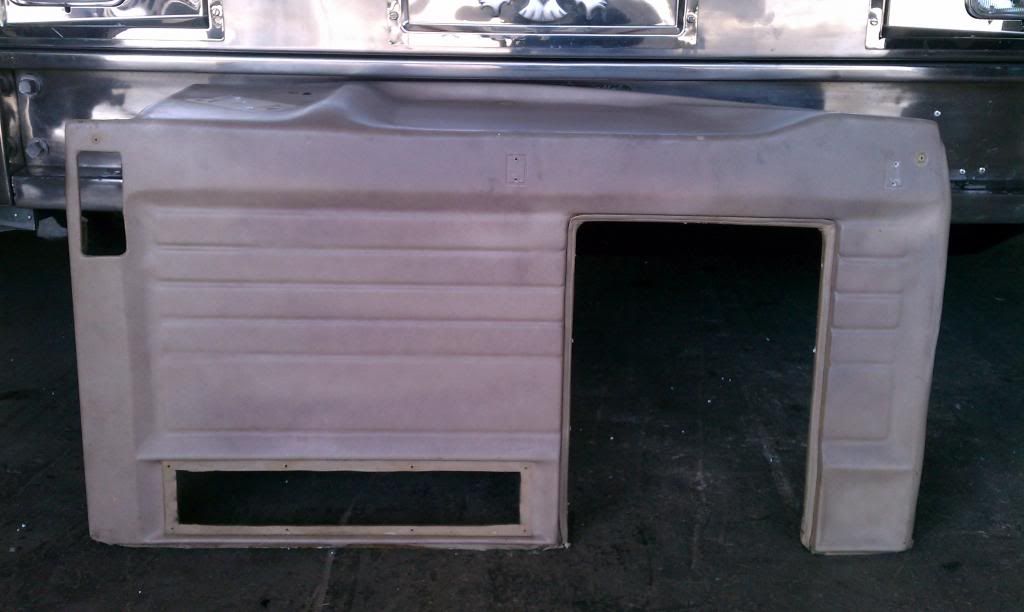
Putting the dash back together
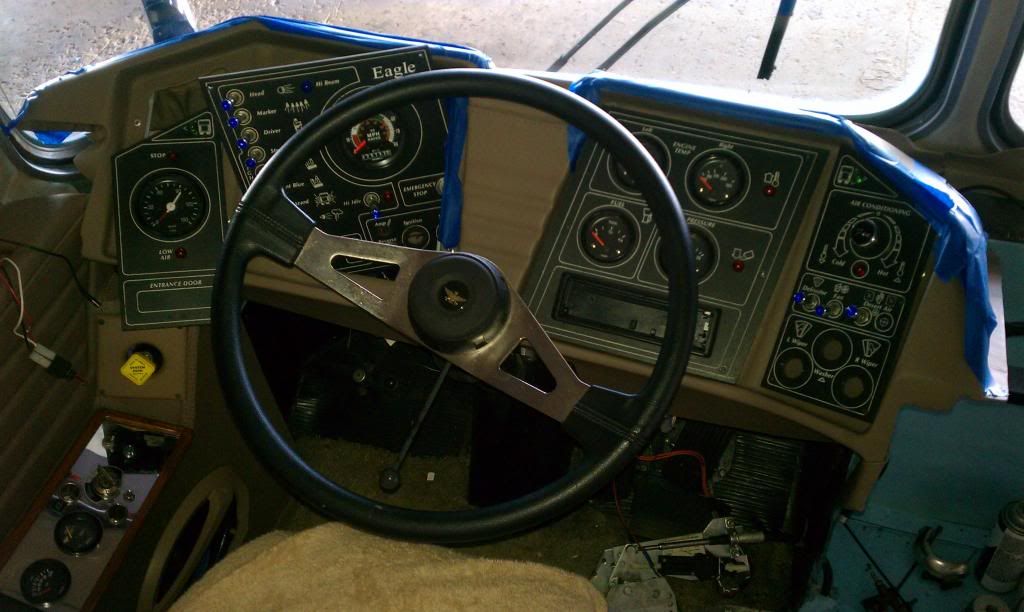

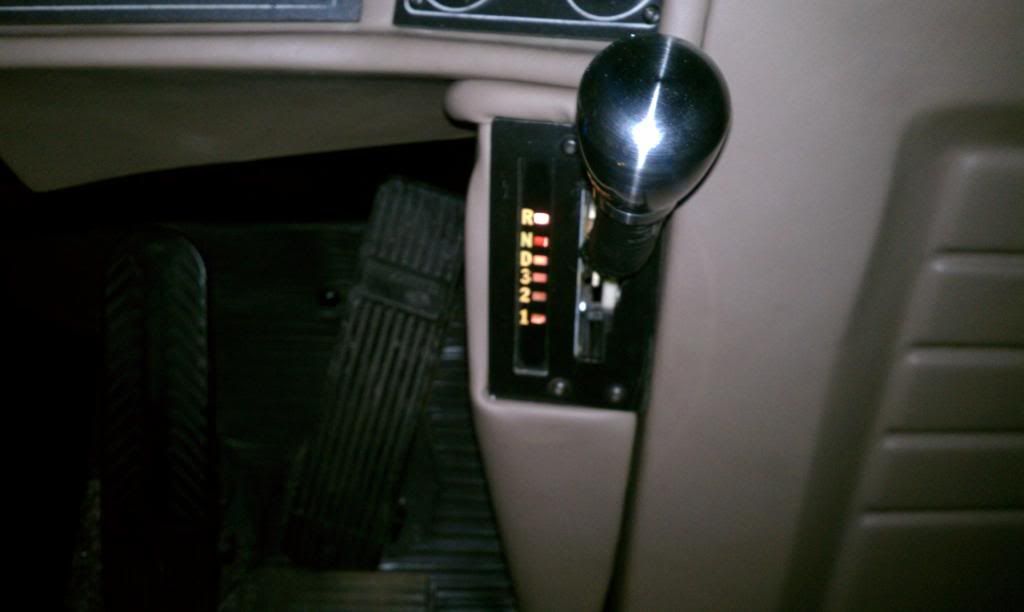
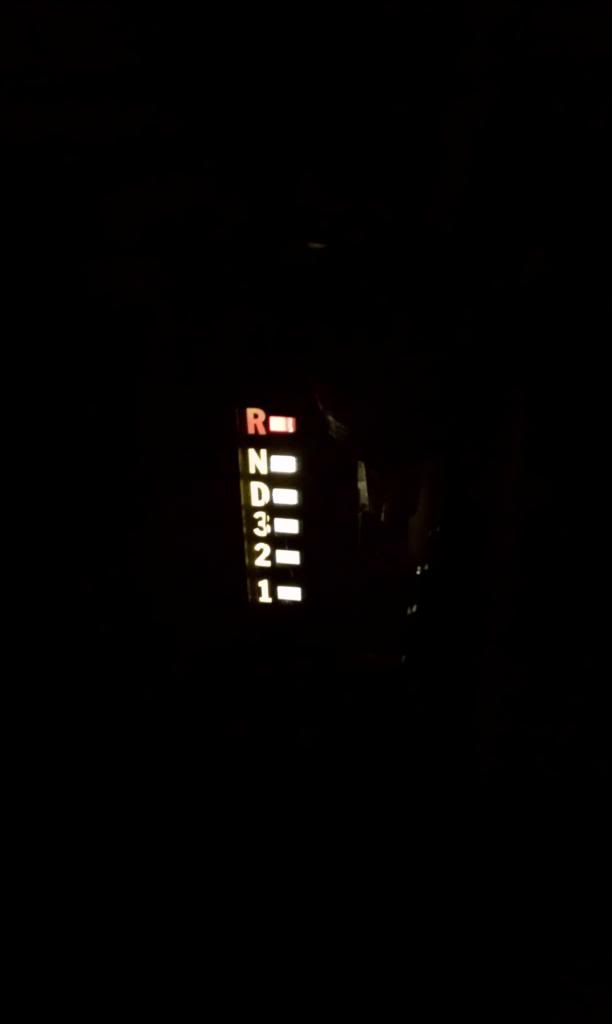
My shifter indicator never had a light so I put one in
Re: Manny & Darlene's Eagle 05
Posted: Mon Mar 11, 2013 6:52 pm
by buscrazyinFL
Thank you Gary. I took a small flat screwdriver and sharpened it up (like a blade) and tried to pry the little umbrellas off. When they came off I then drilled the rivets off, but if I could get behind them, I would just cut them off with a dremel tool and then they'd just pop out.
Little trick I found putting the new ones on...putting the little umbrellas on the new ones, I would spray TriFlo (like WD-40 but better) on top of the rivet and then hammer it with a rubber mallet and it went in real smooth.
Re: Manny & Darlene's Eagle 05
Posted: Mon Mar 11, 2013 8:44 pm
by Eagle Andy
Goodjolly Manny you best go up north with Eric and John and get the shop started. Looks really nice good job.
Re: Manny & Darlene's Eagle 05
Posted: Tue Mar 12, 2013 4:34 am
by Boomer
Congratulations Manny, that looks really sharp. Boy, you have done a lot of work on the bus this year!
Re: Manny & Darlene's Eagle 05
Posted: Tue Mar 12, 2013 7:33 pm
by buscrazyinFL
That's right Eagle Andy,

and thank you!
Thank you too Boomer. Yeah I have been doing alot on the Eagle. Need to work at it while the temperature is not scorching hot. Also, the place I'm keeping my Eagle is a big warehouse and there is lots of room to work on it. I didn't have that before..the other place was real tight quarters and I'd always have to take the bus out and work in the scorching heat. Guess maybe Christmas came early for me this year. I'm looking forward to seeing you in Blytheville next month.